

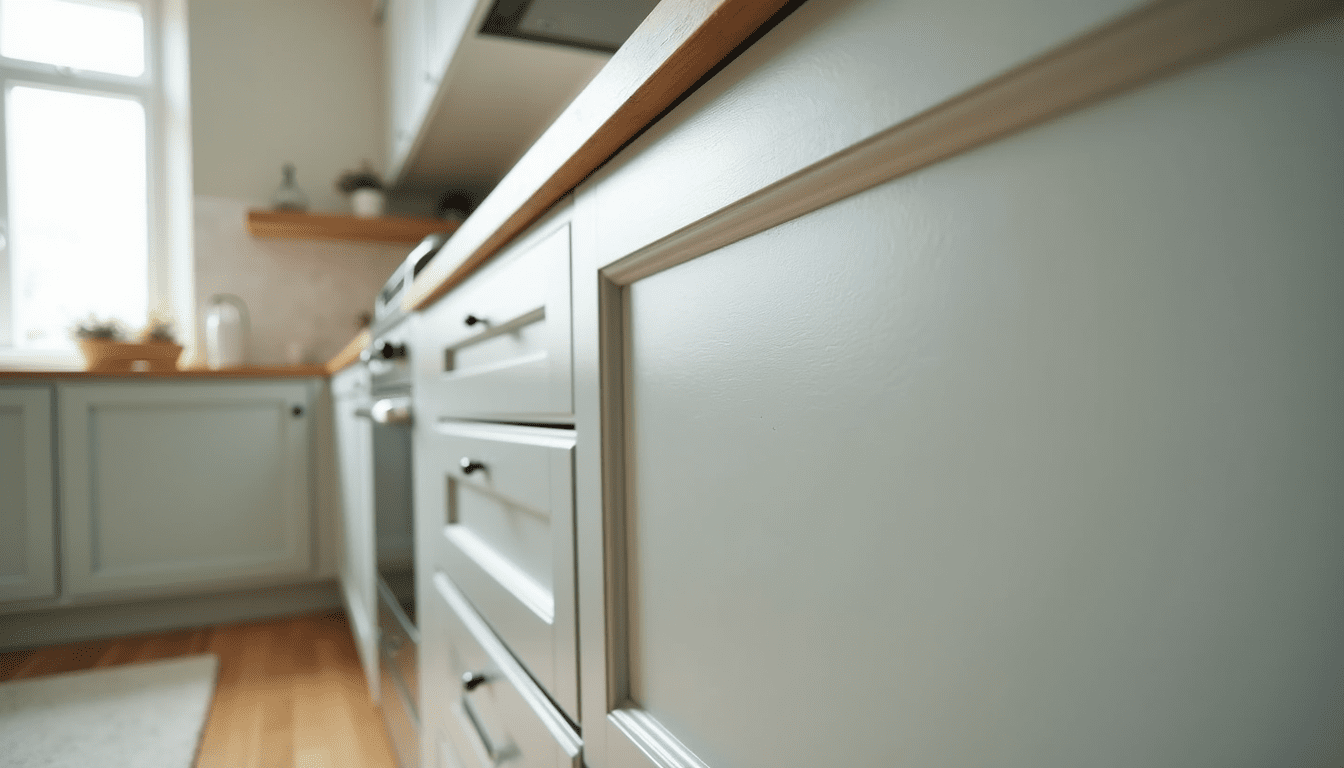
- ★ AT A GLANCE
● Painting cabinets delivers a “new kitchen” look for about a quarter of the cost of replacement, with less mess.
● Painting changes the color; refinishing restores the wood grain—both live or die on prep, not shortcuts.
● Maryland pricing often runs $80–$100 per wall cabinet and $150–$200 per base cabinet
● The pro process is degrease → sand → shellac primer → sprayed finish, with doors removed for clean edges.
● A typical kitchen takes about 4–5 days, and you usually don’t need to move out.
Replacing kitchen cabinets can blow up a remodel budget fast. That’s why more homeowners are calling cabinet painting companies first. A professional cabinet painting service can often deliver a “new kitchen” look for about a quarter of the cost of replacement, with less mess and a shorter timeline.
This guide walks you through kitchen cabinet painting, cabinet refinishing, costs, the full process, and what to expect from a quality crew like Precision Paintworks (a veteran-owned team) serving Maryland. It also includes interior painting faqs at the end.
Cabinet painting vs. cabinet refinishing: what’s the difference?
Cabinet painting means applying primer and paint to your existing cabinet boxes, doors, and drawers. Cabinet refinishing usually means restoring the existing finish—often with new stain or clear coat—so the natural wood grain shows.
Both can look great. The best choice depends on the materials (solid wood vs. MDF vs. laminate), the cabinet condition, and your style goals.
- Choose painting if you want a clean, modern color change and a “fresh coat” look.
- Choose refinishing if you love the grain and want to refresh stains and sheen.
Either way, the durability comes from prep, not shortcuts.
How much does cabinet painting cost in Maryland?
Cabinet pricing depends on several factors: the number of cabinets, layout, prep needs, and finish level. Many most projects land in ranges like:
- Wall cabinets: often $80–$100 per cabinet
- Base cabinets: often $150–$200 per cabinet
That’s still usually far less than full replacement. It can also deliver strong value. Many homeowners see an estimated 50%–100% ROI from updating dated cabinets, especially when it upgrades the whole home’s interior.
Your best next step is a written estimate after a site visit. A real quote should list what’s included and what’s not.
What a professional cabinet painting project looks like (step-by-step)
A lasting paint job isn’t magic. It’s clean work, done in the right order.
1) Prep the space and protect your home
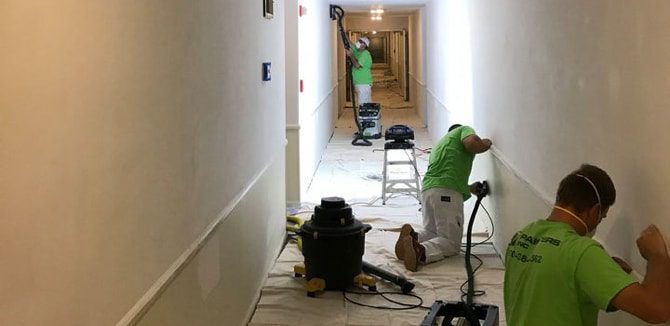
Pros protect interior spaces and set up a contained work area. Floors, counters, and nearby windows get covered. Appliances may be masked too. The goal is to minimize disruption in your house.
You’ll usually be asked to:
- Remove items from cabinets
- Provide clear access to the kitchen and adjacent rooms
- Move small items and some furniture if needed
2) Remove doors, drawers, and hardware
Removing cabinet doors and drawers typically yields better results. It allows cleaner edges and a smoother finish. Crews label everything so it goes back correctly, including hinges, knobs, and other hardware.
This is also the perfect time to add new hardware for a quick style upgrade.
3) Clean and degloss (yes, really)
Kitchen grease is the #1 adhesion killer. Pros often use a degreaser to clean the surfaces before sanding. This step helps paint bond and improves long-term durability.
This is the step DIYers most often rush, and pros never skip: clean the cabinet “by spraying it with a degreaser solution and wiping it down” to remove all the oils and grease that would otherwise keep a finish from bonding — on stubborn kitchen buildup, a stronger cleaner like TSP earns its place.
— Source: This Old House, “How to Paint Kitchen Cabinets in 9 Steps”
4) Sanding for adhesion
A quality job includes sanding. That can be scuff sanding or more aggressive sanding, depending on the old finish. Many painters will also lightly sand again with 220 grit after priming for a smoother feel.
The two quiet fundamentals decide the whole result: “a careful sanding and good primer set the stage for a smooth, durable top coat” — and for cabinets, a modern waterborne acrylic enamel gives that hard, furniture-like finish without the yellowing and odor of old oil-based paints.
— Source: Family Handyman, “Tips for Painting Kitchen Cabinets”
5) Prime correctly (often with shellac)
Primer selection matters on cabinets. Many pros use a shellac primer for stain blocking and bite, especially on older finishes or tannin-prone woods.
Pros reach for a specific primer on cabinets for good reason: if the cabinets are stained, apply at least two coats of quality primer, and a shellac-based pigmented primer “dries fast and flat, without brush marks” — blocking old stain and tannins from bleeding up through the new color.
— Source: Bob Vila, “How to Paint Kitchen Cabinets”
6) Spray or brush/roll the finish coats
Professional sprayers can create a smooth finish with fewer marks than a brush, especially on flat cabinet faces. Edges and tight spots may still be brushed by hand for detail.
Paint choice varies by paint brands, but the bigger goal is the right cabinet-grade coating system.
7) Reinstall and final checks
Once everything cures, the crew reinstalls doors and hardware, checks alignment, and does touch-ups. The job is considered completed after a final walk-through.
How long does cabinet painting take?
A typical kitchen cabinet project takes about 4–5 days, depending on drying time, layout, and repairs. If you’re also doing residential interior painting—like walls, ceilings, or trim—plan for more time.
The good news: you usually don’t need to move out. You just need a plan for cooking and access while the work is in progress.
Most of a cabinet project’s “time” is drying and curing, not active work — which is why a rushed 2-day job is a warning sign, and why a proper finish needs the patience to let each coat set.
Colors and finishes for 2026 (what’s trending and what lasts)
In Maryland, cabinets take daily wear, humidity, and constant cleaning. Finish choice is a durability choice.
- Paint colors: White remains the most popular, but warm off-whites, greiges, and deep navy/green are common for islands.
- Matte finishes: They can look modern, but matte often shows wear sooner than higher sheens.
- Satin is a popular balance of cleanability and look.
- Semi-gloss resists moisture and stains well.
- Gloss has the highest durability, but it can highlight imperfections.
A free color consultation can help you match cabinets to flooring, counters, and your living spaces so the update feels intentional.
How cabinet updates fit into interior painting services
Many homeowners bundle cabinets with other upgrades so the whole home feels cohesive. Good interior painters can coordinate cabinet coatings with:
- Interior painting for kitchen and adjacent rooms
- Painting walls and ceilings
- Refreshing trim and crown molding
- Updating an office or dining room for a consistent look
If you’re already hiring interior house painters, ask about package pricing for interior house painting services plus cabinets.
How to choose the right cabinet painting service in Maryland
Not all painters are cabinet specialists. Cabinets are a high-touch surface, and prep has to be exact.
When comparing cabinet painting companies, look for:
If you want exceptional results, don’t just ask what paint they use. Ask how they prep.
For help with cabinet updates and broader interior painting services in Maryland, visit cabinet painting with Precision Paintworks DMV and request a free estimate.
“Cabinets are the hardest-working surface in the house — opened, wiped, and bumped every day — so we treat them like fine furniture, not walls. That means degreasing every door, sanding for real adhesion, priming to block old stain, and spraying the finish for a factory-smooth result. As a veteran-led crew, the discipline is the point: skip a step on cabinets and you’ll see it within a year.”
— The team at Precision Paintworks, serving Maryland & the DMV
Ready to refresh your kitchen? Request a free estimate from Precision Paintworks.