

- ● Plan the order of work first—the right sequence is what prevents expensive do-overs.
● Budget a 15–25% contingency—even simple projects uncover hidden drywall or moisture issues.
● The efficient sequence is demo & repairs → drywall → paint → flooring → final installs
● In most cases, paint before flooring—it’s faster and protects the new floor from drips and dings.
● Timelines: one room 2–4 days; whole-home repaint 1–3 weeks; multi-trade renovation 4–10+ weeks.
A renovation goes smoother when you plan the order of work first. That matters even more if your scope includes maryland painting and decorating, drywall, and floors. The goal is simple: keep the process clear, keep your space livable, and avoid expensive do-overs.
This timeline is built for a typical home in Maryland (and nearby areas in MD), where homeowners want reliable scheduling, clean work, and quality results.
Step 1 (Week 0–1): Define the scope, budget, and expectations
Start by writing down what you want to change in each room. Then list what must happen for the job to be complete (new floors, patched walls, new lighting, etc.). Clear expectations reduce change orders.
Budget rule from the field: plan a 15%–25% contingency for surprises. Even a “simple” project can uncover damaged drywall, moisture issues, or uneven surfaces.
This is also when you decide whether you’re doing interior-only work or adding exterior updates. Exterior work can depend on weather, while interior projects can disrupt daily routines.
Step 2 (Week 1): Permits, lead rules, and contractor paperwork
If you’re hiring pros, get the paperwork right up front. In Maryland, contractors doing home improvement work generally need a valid license through the Maryland Home Improvement Commission (MHIC). Home improvement contracts in Maryland also need to be in writing and include the contractor’s MHIC license number.
If your house was built before 1978, renovations that disturb painted surfaces may trigger federal lead-safe work requirements. That affects prep, containment, and cleanup timing.
Step 3 (Week 1–2): Get detailed estimates (and compare them correctly)
Collect multiple, detailed quotes. A real estimate should list what’s included: surface prep, materials, number of coats, and the daily plan. It should also say how the crew will protect your floors and furniture.
This is where you’ll see the difference between “cheap paint” and a professional plan. Most professional painters use premium quality paints for a uniform finish, but prep and scheduling are what make it last.
Tip: ask each company for a recent reference. Also check reviews on Google and even Facebook. It helps you see how they handle communication when issues pop up.
One detail separates a careful estimator from a guess, and it’s the time spent looking before quoting: “the longer it takes, the more realistic the estimate” — a walk-through that inspects surfaces and repairs produces a number far likelier to hold once the work starts.
— Source: Consumer Reports, “How to Hire a Painter”
Step 4 (Week 2): Pick paint colors and finishes before work starts
Color decisions can stall a project. Make them early.
- Choose paint colors for every room, trim, and ceiling.
- Decide if you want an accent wall.
- Pick the sheen (for walls, eggshell is a common choice).
Plan at least one trip to a paint store. A good store visit saves time later. Bring home samples, test them on multiple walls, and view them in morning and evening light.
Many painting companies Maryland homeowners hire offer color consultation and finish selection. Some also provide color matching to ensure accurate paint colors across the home.
If you want this planned like a pro, treat color selection as the first step in the painting schedule, not an afterthought.
Late color changes are one of the most common schedule-killers — a new color can change primer needs and coat counts, so locking the palette before the crew arrives keeps the whole timeline on track.
Step 5: The best order of work (a realistic timeline)
Below is a common, efficient sequence for multi-trade projects. This is the order many experienced painting contractors prefer because it reduces damage to finished work.
Phase A: Demo and repairs (Days 1–3+)
- Remove fixtures and old trim if needed
- Fix water issues first (don’t paint over them)
- Repair drywall damage, popped nails, and corner cracks
If you’re updating outlets or lighting, schedule electrical now. It’s faster than reopening walls later.
Phase B: Drywall finishing and sanding (Days 2–7)
Drywall work takes time because compound needs to dry between coats. Rushing this step shows in the final finish.
Surfaces must be prepared by filling holes and sanding. That’s what prevents flashing and texture problems.
This is the phase homeowners are tempted to rush and pros never do, because everything visible rides on it: “preparation is the most important part of a painting project” — the filling, sanding, and smoothing are what keep the finished walls from showing every flaw once the light hits them.
— Source: This Old House, “Prep for Success: Tips for a Pro-Level Paint Finish”
Phase C: Interior house painting services (Days 4–10+)
Once walls are smooth and clean, interior painting can move quickly. A professional crew will:
- Use drop cloths and protective sheeting to cover floors and protect belongings
- Move or wrap furniture
- Prep trim lines and detail areas with close attention
- Prime stains and repairs so the color looks even
- Paint walls, ceilings, and trim with a consistent finish
- Clean up daily so the home stays usable
When this is done right, the result isn’t just “painted.” It looks like an excellent job—clean lines, even coverage, and a finish that holds up.
Phase D: Flooring (Days 7–14, depends on material)
A common planning question: should you paint before or after installing new floors?
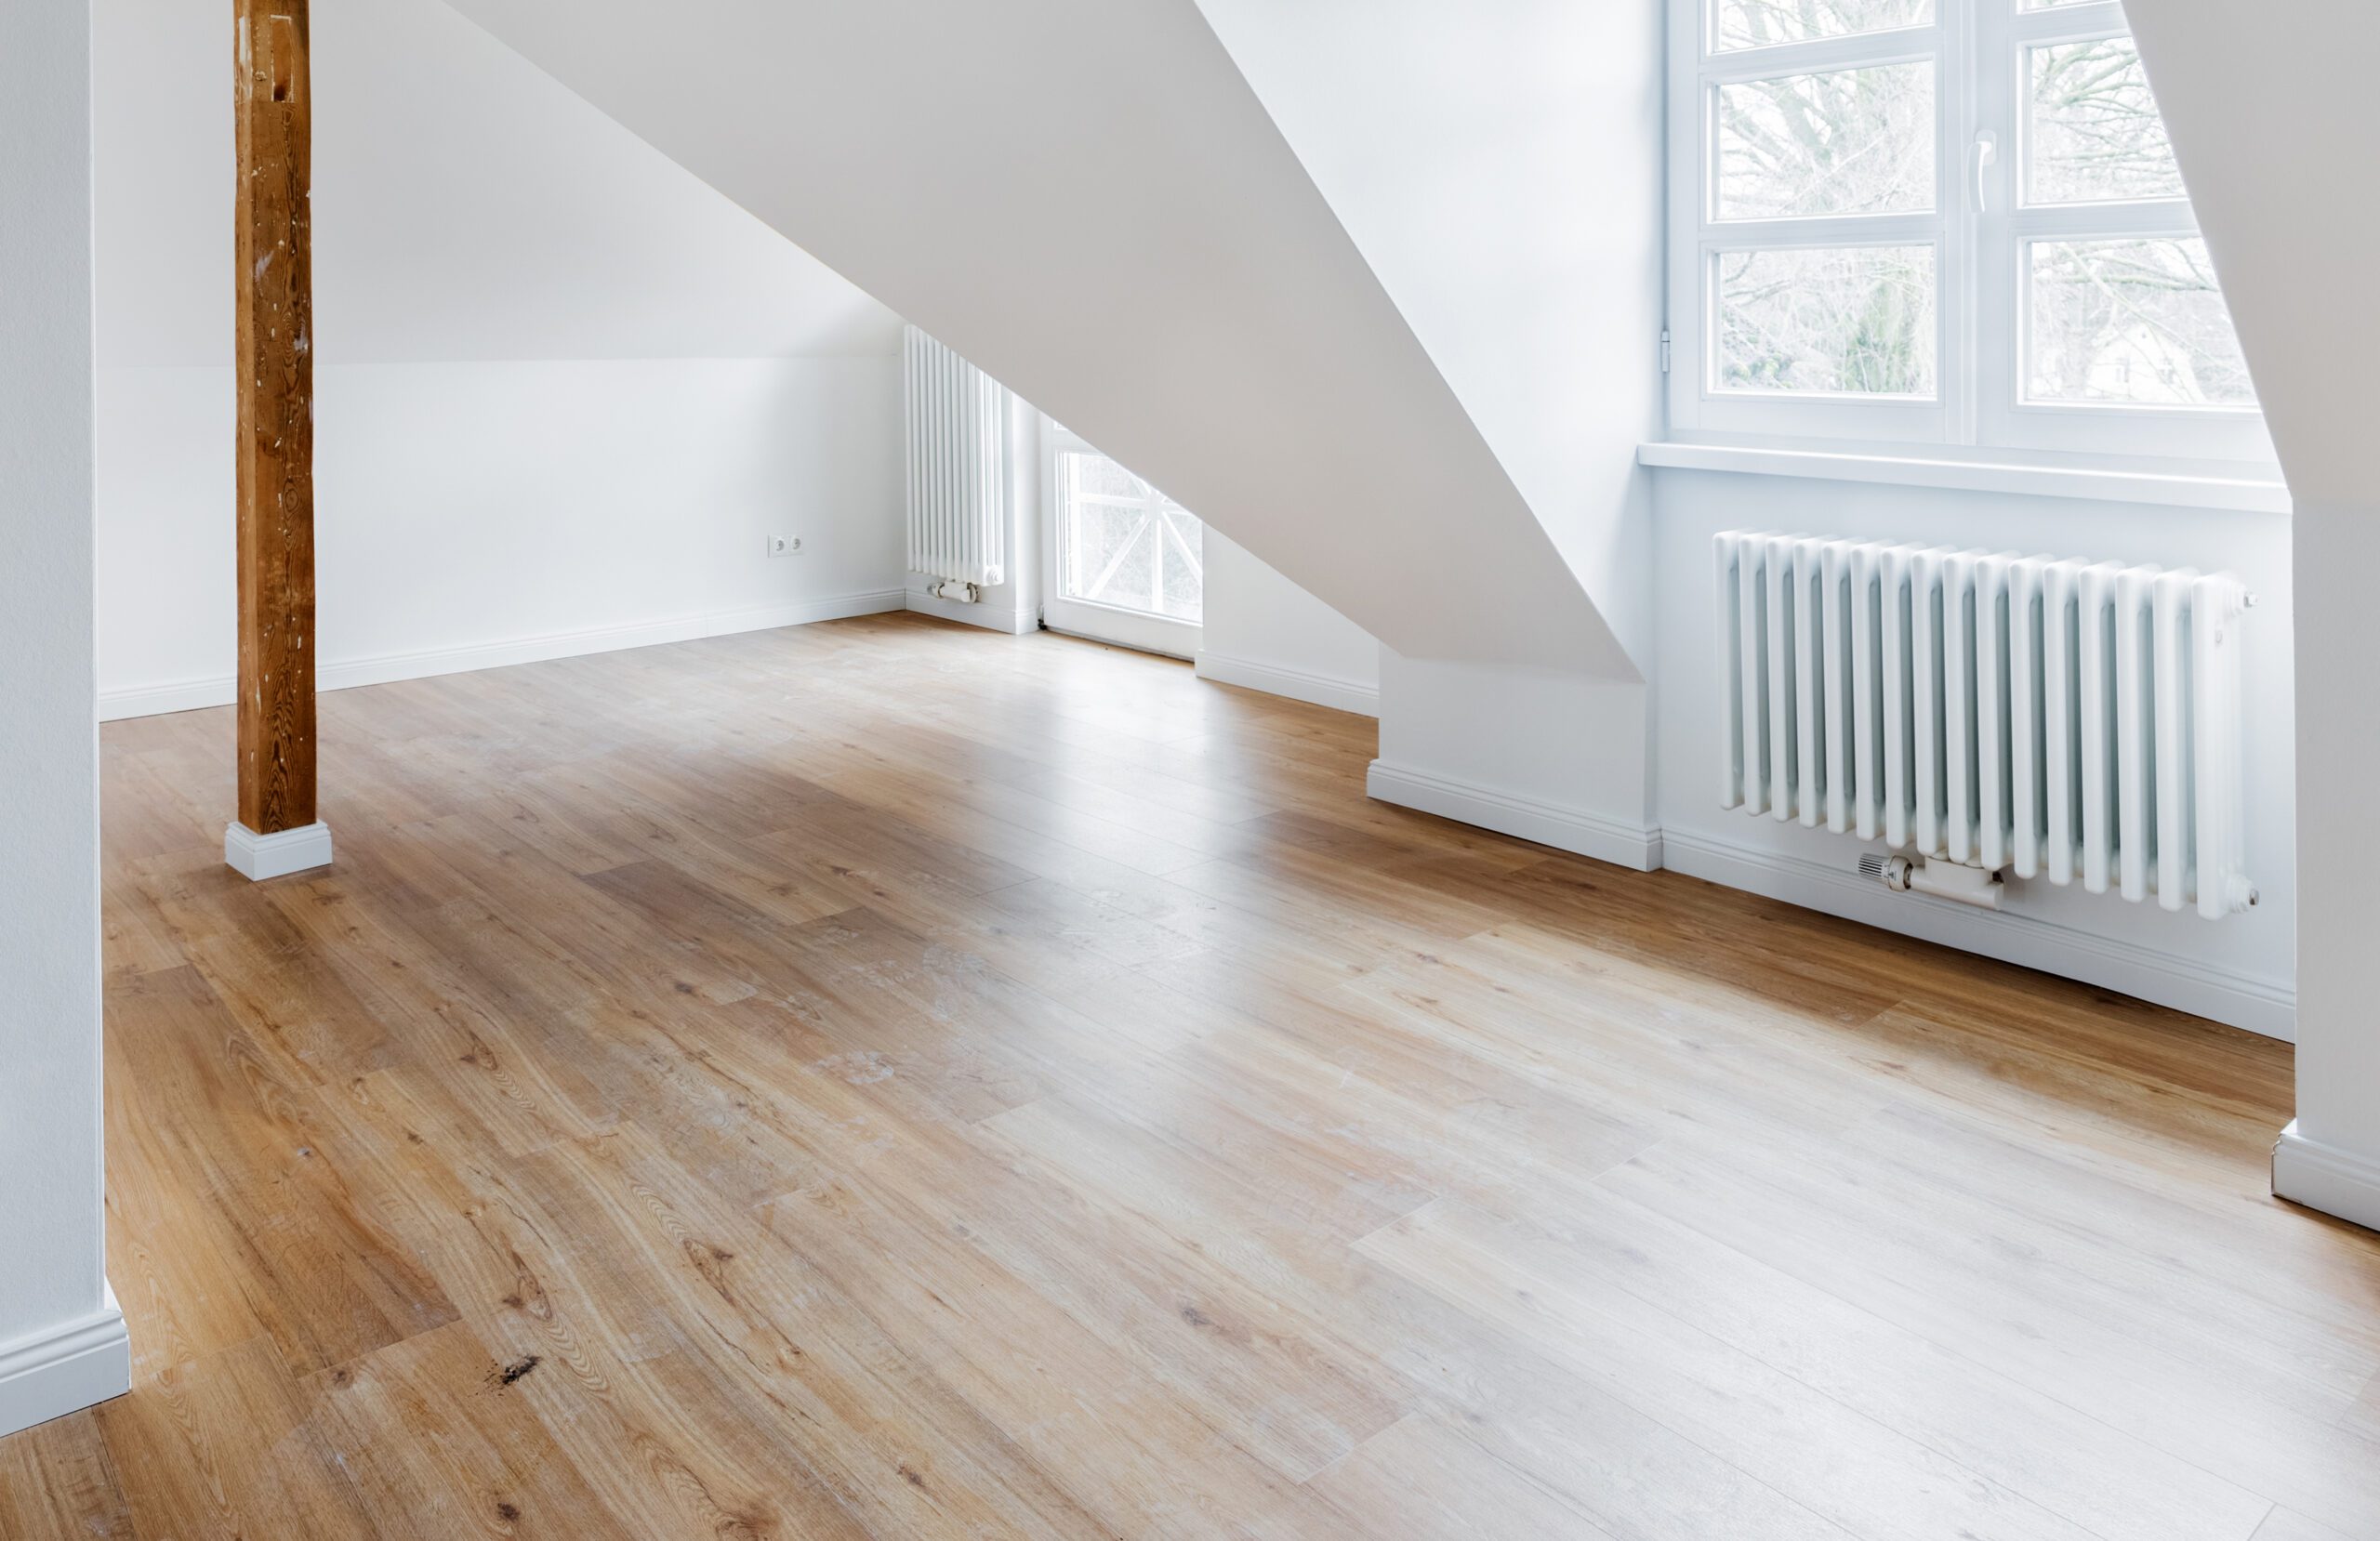
In most cases, paint first. Then install flooring. It’s more efficient and reduces the risk of drips and dings. If the floor must go in first, require full protection and limited traffic paths.
Phase E: Final installs + punch list (Days 10–16)
This phase includes:
- Reinstalling switch plates and hardware
- Small touch-ups (“don’t worry, we’ll handle it” items)
- Final caulk lines
- Final walk-through
Clean-up should include removing materials, sweeping the area, and leaving the home ready to use. A walk-through inspection after painting is complete is also standard for quality-focused crews.
How long does a renovation take in Maryland?
Every project is different, but these ranges are realistic:
- One room paint + minor repairs: 2–4 days
- Whole-home interior repaint with patching: 1–3 weeks
- Multi-trade renovation (drywall + floors + paint): 4–10+ weeks
Timeline depends on access, drying times, the number of trades, and how quickly decisions are made. Mark key dates and hours of work on a calendar so everyone stays aligned.
How to choose among painting contractors (and avoid schedule chaos)
When you’re hiring contractors, look for a reliable plan and a crew that works smoothly:
You’ll often hear homeowner feedback like “fantastic,” “amazing,” or “pleasant” when the crew is organized, respectful, and pays attention to detail. That’s not fluff. It’s usually a sign the company’s professionalism is consistent across real jobs and real customers.
Also ask who the owner is and who your main contact will be. Clear communication is how projects stay on track.
Reviews are a start, but the strongest check is a past client you can actually reach: “contact references directly” to ask how the crew handled scheduling, cleanup, and surprises — and, where you can, see a finished project in person before you sign.
— Source: Remodelista, “12 Questions to Ask a Painter Before You Hire”
The cheapest bid rarely stays cheapest — a crew that shows up erratically stretches a two-week job into two months. Reliability and daily communication are worth more to your timeline than a small discount.
Where Precision Paintworks fits into the timeline
Painting and decorating services in Maryland often include interior painting and exterior updates, plus prep and repairs. If you want one partner to coordinate paint, drywall, and related work, Precision Paintworks DMV can help you plan the order of work, protect your home, and finish efficiently.
“The most expensive mistakes we see aren’t bad paint — they’re bad sequencing. Flooring that goes in before painting, then gets covered in dust and drips. Electrical that gets remembered after the walls are closed. As a veteran-led team, we plan the order of work up front and hold to it, so every trade lands in the right spot and nobody’s redoing finished work. That discipline is what keeps a Maryland renovation on schedule.”
— The team at Precision Paintworks, serving Maryland & the DMV
Request an estimate today at Precision Paintworks DMV to plan your project the right way, start to finish.